![]()
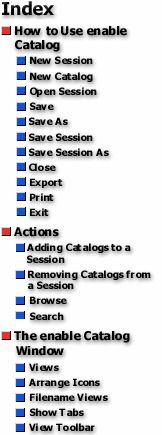
enable
Catalog
help
enable Catalog stores your catalogs in sets called sessions. A session is a group of related catalogs that you would like to store together. To start a new session, select File > New Session.
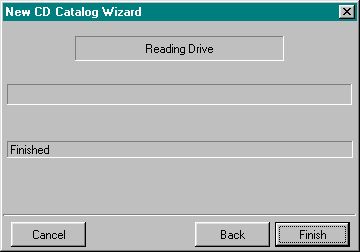
The New Catalog command allows you to create a new catalog to add to the current session. Select File > New Catalog to bring up the New CD Catalog Wizard.
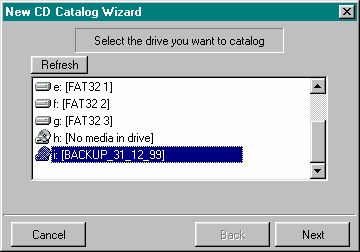
Select the drive you want to catalog, and press Next.
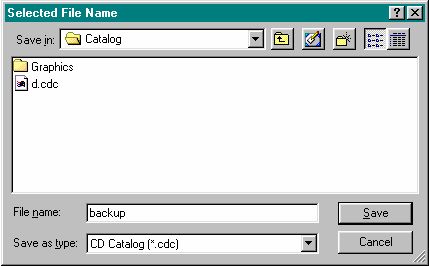
Give the catalog file a name and a description, then press Next again.

The Catalog Wizard will create your catalog. When it is complete, press Finish.
To open a session to add more files to it, or search for a file within it, select File > Open Session.
The Save command allows you to save the selected catalog.
The Save As command allows you to save the selected catalog with another name.
The Save Session command allows you to save the current session.
The Save Session As command allows you to save the current session with another name.
The Close command closes the current session.
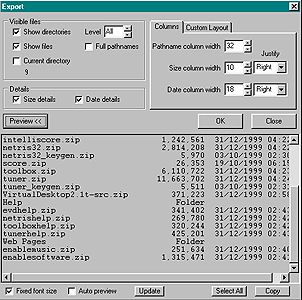
The Export command allows you to copy lists of your directories into other formats. Selecting a catalog and selecting File > Export from the menu brings up the Export dialog box.
The Export dialog box lets you choose which files you want visible on your list for export. You can choose to show directories and files, show only the current directory, and show full pathnames. You can also decide whether you want to display size and date details for your files.
The Export dialog box also allows you to set up the layout of your export data, including the width and format of the columns. The indent of the columns can be modified using the Custom Layout tab.
Pressing the Preview button will display the list of files you are exporting. From this display you can select and copy your list to another format, and refresh your list using the Update button.
The Print command allows you to print the details of your catalogs on a preformatted CD cover. Selecting File > Print will bring up the Print dialog box.
There are three elements to the Print dialog box. Firstly, Title Settings allows you to give your catalog a name, and format the title font. Pressing the CD Description button will enter the description of the catalog as the title. Pressing the Font button will allow you to change the font, size, style, color and effects.
Secondly, you can use the Text and Colour Settings to determine what is displayed on your CD cover, and format the font. There are four display options:
- No text - only the title will be displayed on the cover.
- Root folder with size details - displays the contents of the root folder, along with size details.
- All folders in columns - displays all folders in the catalog in columns.
- All files in columns - displays all files in the catalog in columns.
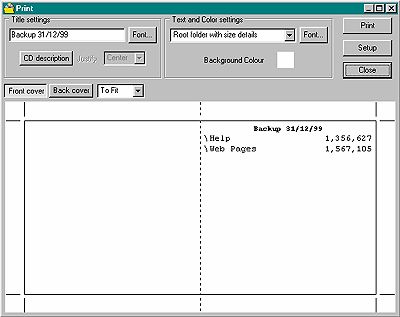
Pressing the Font button will allow you to change the font, size, style, color and effects. The CD background color can also be changed by clicking on the background color and choosing a color from the palette.
The final element in the print dialog box is the cover display. You can choose to display the layout of either your front or back cover by toggling between the two buttons. The zoom menu allows you to zoom in and out.
Lastly, the Setup button in the Print dialog box allows you to change your current printer setup.
The File > Exit command shuts down enable Catalog.
If you want to add a catalog recorded in one session to another session, use the Add Catalog command. The Add Catalog command will bring up a dialog box which allows you to select the catalog you want to add to the current session. These must be catalogs which you have previously recorded for other sessions, and they must contain the .cdc file extension.
Removing Catalogs from a Session
The Remove Catalog command will remove the selected catalog/s from the current session.
The Remove All Catalogs command will remove all catalogs from the current session.
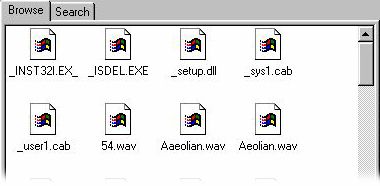
enable Catalog allows you to browse your previously cataloged files. To browse your catalogs, ensure that the enable Catalog window is displaying the browse facility by pressing the Browse button on the toolbar or selecting Actions > Browse. Note that this command is toggled with the Search command, which allows you to search your catalogs for files (see Search).
enable Catalog allows you to search for previously cataloged files. To perform a search, ensure that the enable Catalog window is displaying the search facility by pressing the Search button on the toolbar or selecting Actions > Search. Note that this command is toggled with the Browse command, which allows you to browse your catalogs for files (see Browse).
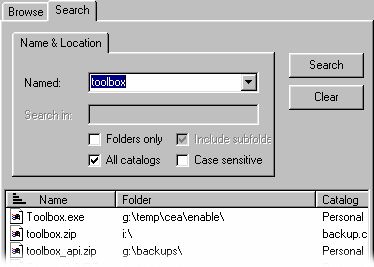
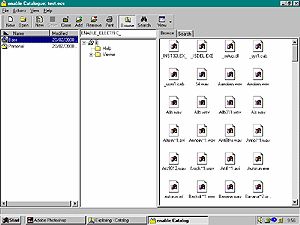
The enable Catalog window contains three main areas. These areas can be resized by clicking and dragging their borders.
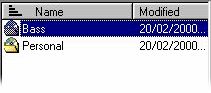
The area on the left displays a list of the catalogs contained within an open session.
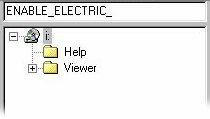
The middle area displays a list of folders within a selected catalog. This can be used like Windows Explorer.
The area on the right can be toggled between two modes: Browse and Search. When in Browse mode the area displays a list of the files within a selected folder in a catalog, similar to the right side of Windows Explorer (see Browse). When in Search mode, the area displays a search facility (see Search).
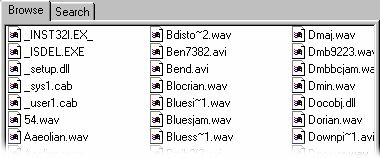
When in Browse mode, the file view can be toggled between four choices:
- Large - displays large icons.
- Small - displays small icons.
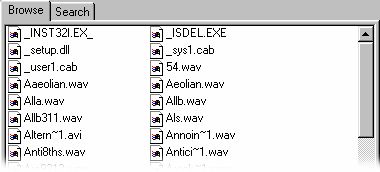
- List - displays a list of files.
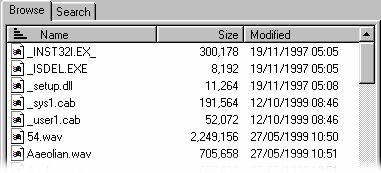
- Details - displays a list of files with size and date details.
The Arrange Icons option lets you choose one of three ways to arrange your files in the Browse area. Files can be arranged by Name, Size and Date, in ascending and descending order. Selecting the currently selected option will reverse the order of the files, eg. selecting the Name option when files are already arranged in ascending name order will arrange them in descending name order.
There are two different views for filenames, Catalog Filenames and Full Catalog Path. These options are toggled using the command in the View menu. Catalog Filenames displays only the filenames of catalogs in a session, while Full Catalog Path displays the path at which the drive was located when it was cataloged.
The Show Tabs command will bring up the Browse and Search tabs in the right side of the window. These tabs can be used to swap between Browse and Search modes instantly without using the menu.
The View Toolbar command toggles the enable Catalog toolbar on and off.